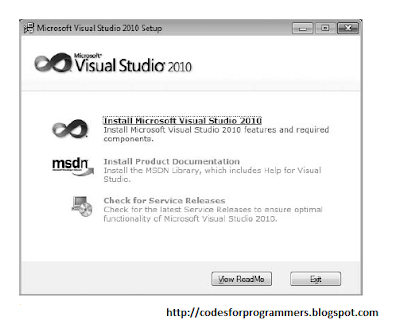
When you launch Visual Studio 2010 setup, you see the dialog in Figure 1 - 1 showing you the three product installation stages. As you would imagine, the fi rst stage is to install the product itself. The other two stages are optional. You can either install the product documentation locally, or use the online (and typically more up - to - date) version. It is recommended that you do search for service releases because it ensures you are working with the most recent version of the product and associated tools.

As you progress through the setup process you are prompted to provide feedback to Microsoft (left image, Figure 1-2) and agree to the licensing terms for the product.

The Visual Studio 2010 setup process has been optimized for two general categories of developers: those writing managed, or .NET, applications, and those writing native, or C++, applications (left image, Figure below. The Customize button allows you to select components from the full component tree as shown in the right image of Figure below.

Once you have selected the components you want to install, you see the updated progress dialog in the left image of Figure below. Depending on which components you already have installed on your computer, you may be prompted to restart your computer midway through the installation process.When all the components have been installed, you see the setup summary dialog in the right image of Figure below. You should review this to ensure that no errors were encountered during installation.


0 comments:
Post a Comment